There are many great chicken waterers out there but we have found that this diy chicken waterer is without a doubt the easiest and most affordable way to keep your chickens with fresh water. You don’t need much and in fact it is incredibly easy to create for almost anyone.
Creating a simple DIY Chicken Waterer takes such little work that you will have a brand new waterer ready to be used through any season. It is incredibly important to have a good watering system for your chickens so they can have fresh water regularly.
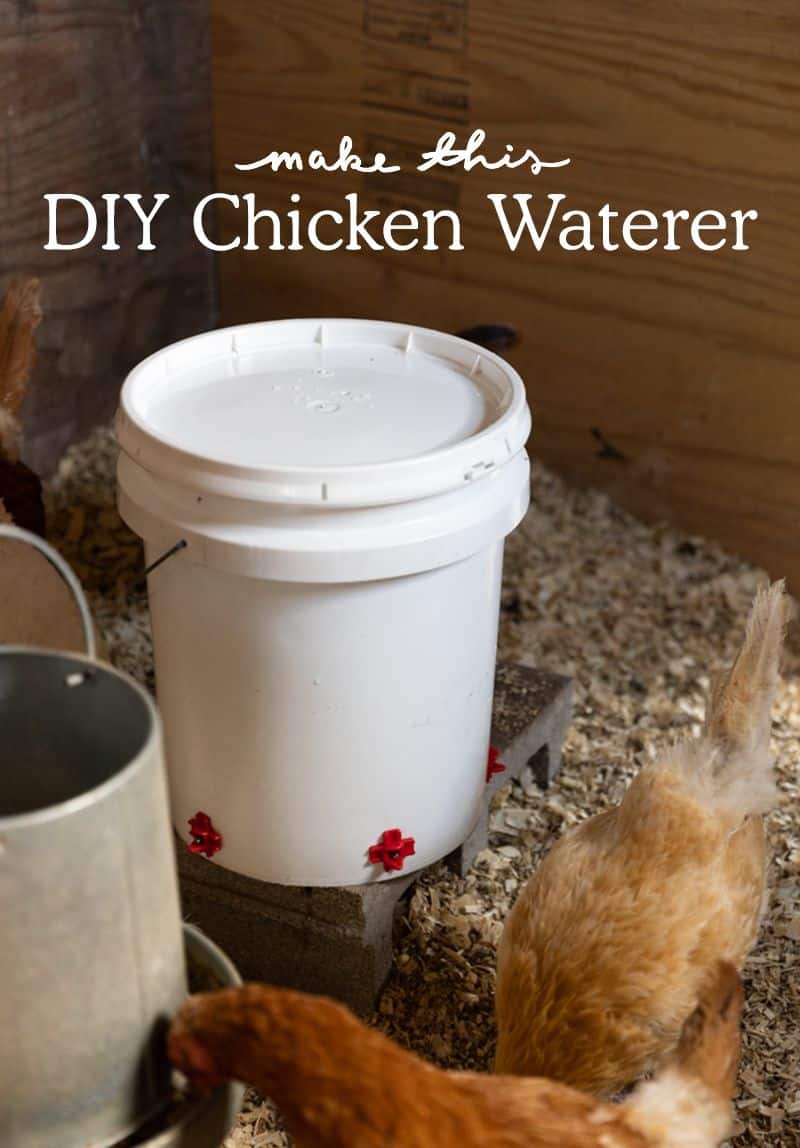
If you want healthy chickens a good watering system will be essential to their health. With this simple DIY, you can use a gravity system, chicken nipple plugs, and a classic 5-gallon bucket to create this DIY chicken waterer. That’s it. The gravity system is the best way to make the filling process simple for you as an owner.
If you are looking for a list of the best chicken waterers we have gathered those up as well if you want an alternative to this DIY version.
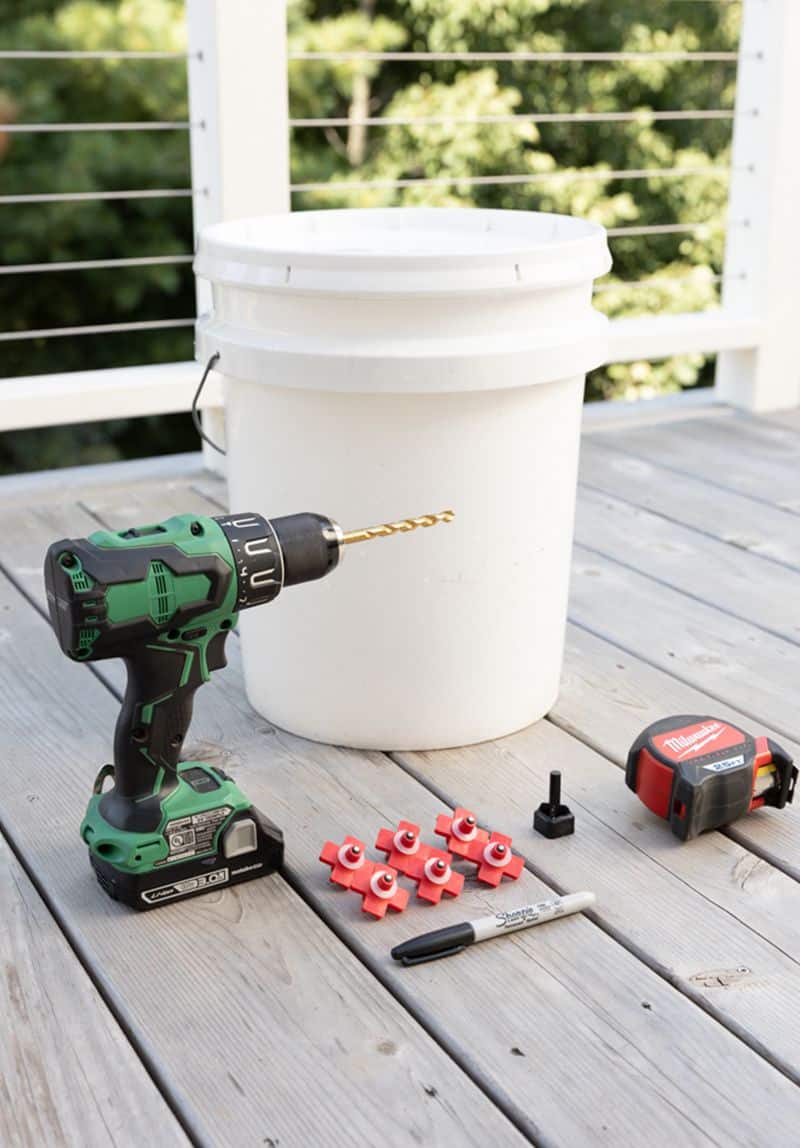
All you need to create this simple and easy solution to help with watering your chickens is about 40 minutes and a few supplies. You will want to make sure everything is clean if you have previously used the 5-gallon bucket before.
Step By Step Guide on How to Create DIY Chicken Waterer
- Clean and empty your 5-gallon bucket. You could pick a 5-gallon bucket as long as you can still fit a lid on the bucket, and it has no hold or cracks. After selecting your bucket, clean the bucket and lid with soap and water to get it ready for steps 2 & 3.
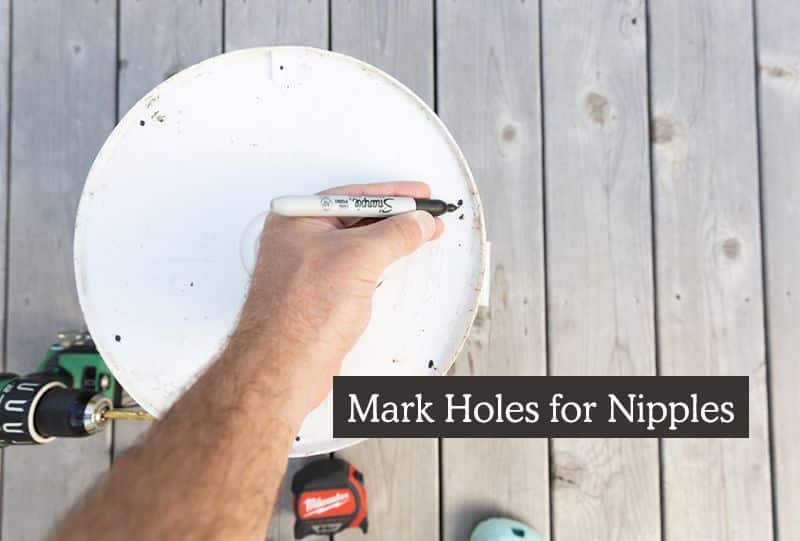
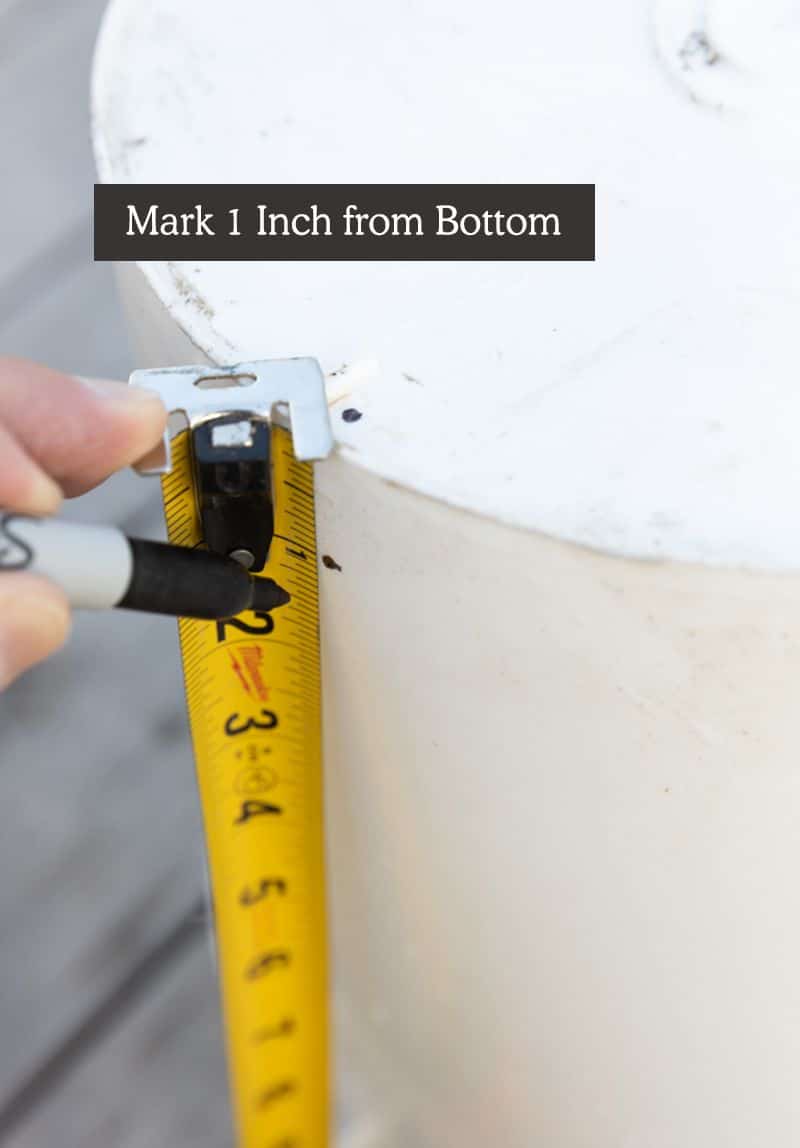
- Mark holes with a sharpie where nipples will be located. Measure exactly 1 inch down from the bottom of the bucket at 6 equal points. This will be the location for each of the chicken water nipples.
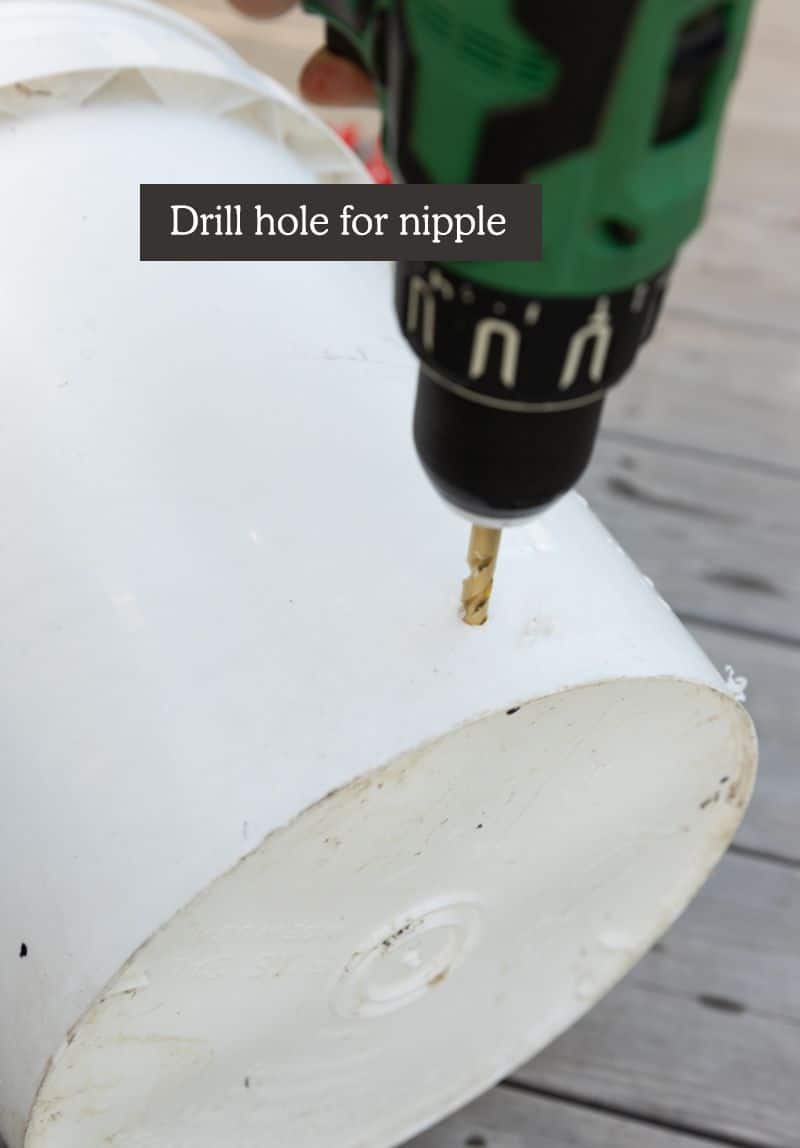
- Along the bottom edge of the bucket, drill 6, 1-inch holes, holes opposite of each other. With all of the holes marked, get your drill and 5/16th drill bit charged up and ready. Simply drill one hole at a time. Ensure any loose plastic is cleaned out of the bucket before adding water.
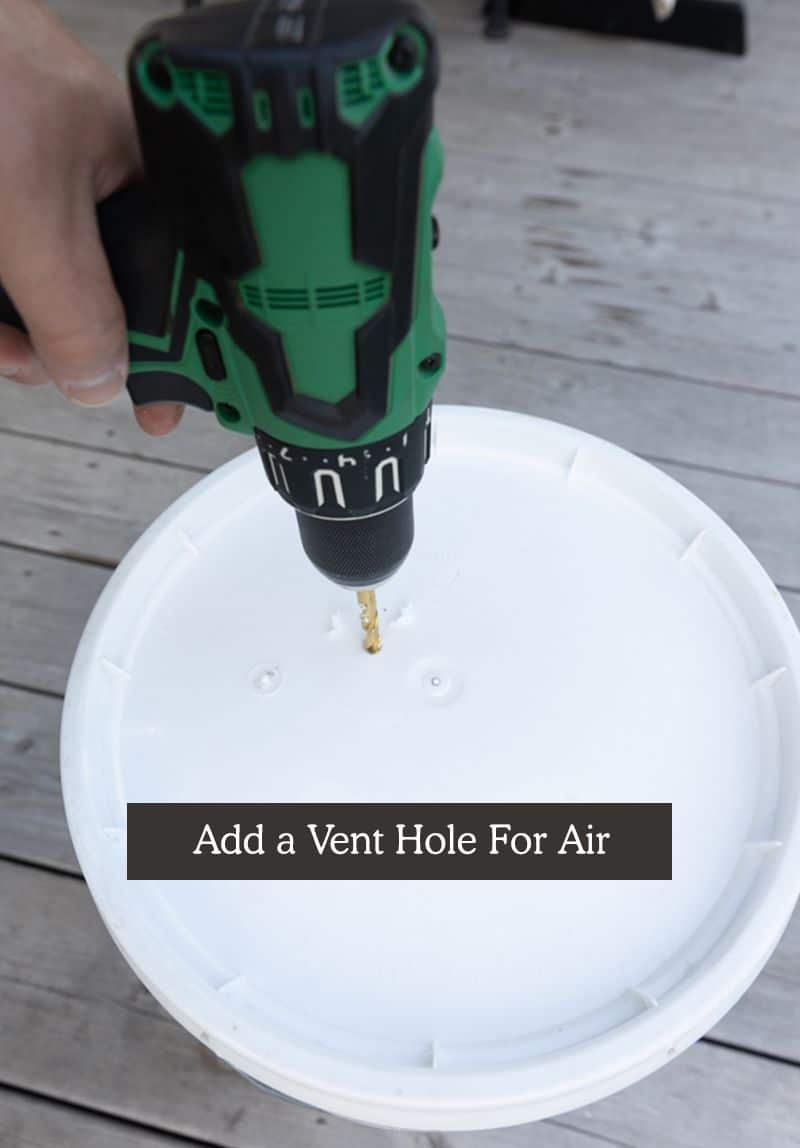
- While you still have the drill bit on, drill at least one hole in the lid of the bucket. This is to ensure air flow as water is consumed.
- On your drill, exchange the 5/16th drill bit for the black plastic bit included in the package.
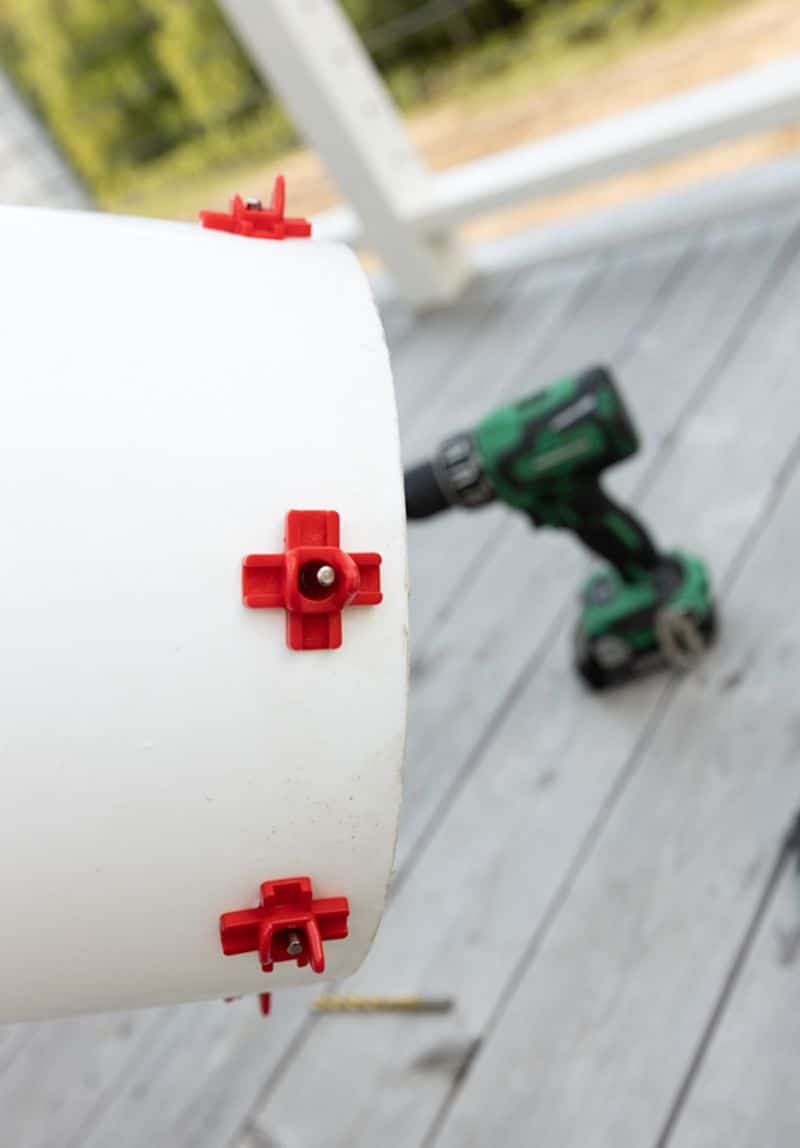
- Place 1 chicken water nipple in the black plastic bit. Then, slowly screw the nipple onto the bucket until the clear spacer has sealed the threading.
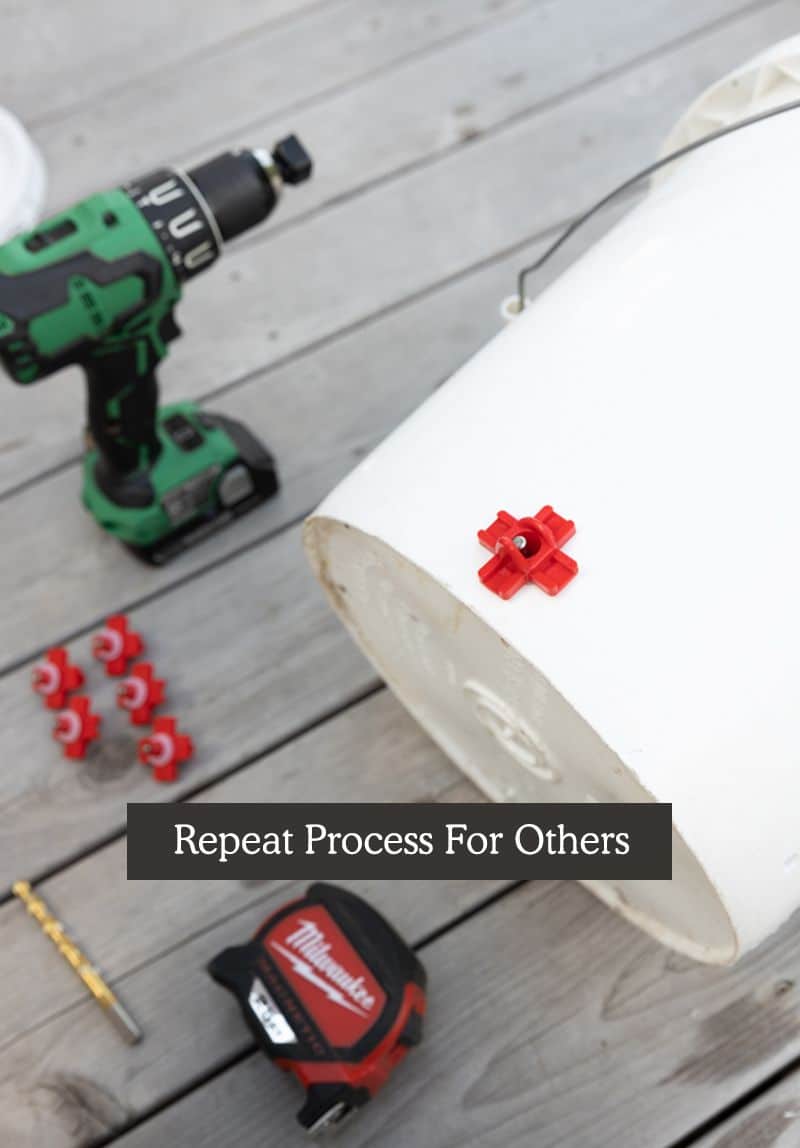
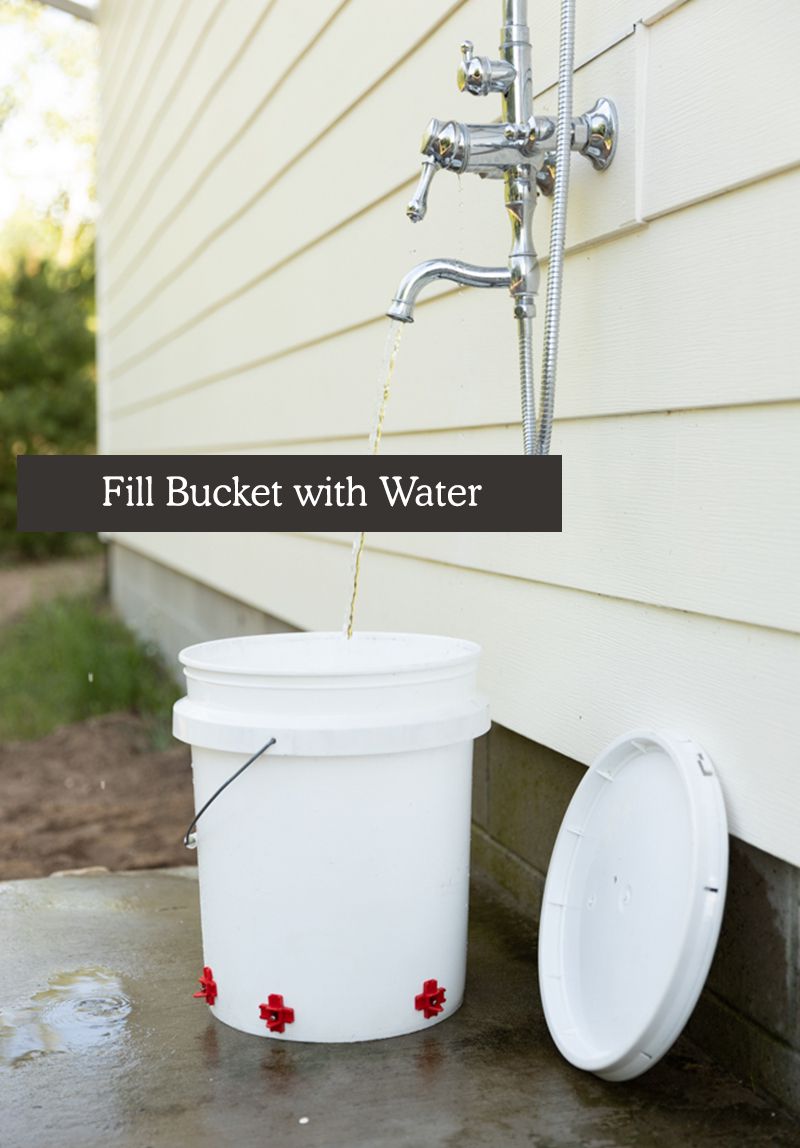
- Add the other 5 nipples, and pour fresh water into the bucket and check for leaks.
- If there are any leaks try drilling the nipple into the bucket until you cannot tighten it any further.
- If there are no leaks, add the lid and place it in the coop. You’re done!
FAQs
What Is A Gravity Fed Chicken Waterer
Gravity-fed chicken waterer is a type of water dispenser that releases water into a tray or bowl while chickens are drinking it. These waterers are a popular choice for backyard chicken keepers because they are easy to use and require minimal maintenance.
What can you use as a chick waterer?
There are several options for chick waterers, including mason jar waterers, DIY PVC waterers, Supremo waterers, automatic poultry founts, and homemade waterers.
How do you keep chicken water from tipping over?
Keeping chicken water from tipping over can be challenging, especially if you have active or curious chickens. Here are a few tips to help keep your chicken waterer stable:
- Use a heavy base: Choose a waterer with a heavy base, which will make it more difficult for chickens to tip over.
- Choose a low profile: Select a waterer with a low profile, which will make it harder for chickens to get a good grip and tip it over.
- Place it on level ground: Make sure the waterer is on level ground to prevent it from tipping over.
- Secure it to the ground: You can use a bungee cord or a stake to secure the waterer to the ground, making it more difficult for chickens to tip over.
- Use a waterer with a narrow base: A waterer with a narrow base will be more stable than one with a broader base.
- Use a waterer with a lid: A waterer with a lid will make it more difficult for chickens to climb on top and tip it over.
- Keep the waterer full: Keeping it full will make it heavier and more stable, reducing the likelihood of tipping over.
Should I put vinegar in my chickens water?
Adding a small amount of apple cider vinegar to your chicken’s water can have some potential benefits for their health and well-being. Here are some things to consider:
- Promotes digestive health: Apple cider vinegar has natural antibacterial properties. They can help promote good digestive health and prevent the growth of harmful bacteria in your chicken’s gut.
- Boosts immune system: The acetic acid in apple cider vinegar has been shown to have immune-boosting properties. It may help keep your chickens healthy and resistant to disease.
- Reduces risk of internal parasites: Apple cider vinegar have some ability to repel or kill internal parasites, such as worms. This can be a common problem in backyard chickens.
However, it’s important to note that while apple cider vinegar may have some potential benefits. It should be used in moderation and not as a replacement for proper nutrition and care.
Only add a small amount of vinegar (such as a tablespoon or two per gallon of water) to your chicken’s water. Be sure to use raw, unfiltered apple cider vinegar that contains “the mother” (a colony of beneficial bacteria and enzymes).
Conclusion
Keeping your chickens with freshwater is really important. However, finding the right system is even more important to make it a great process for everyone. I hope you found this extremely helpful. Gain some inspiration and ideas for the right DIY chicken waterer system for your own backyard chickens.
Other posts you may enjoy about chickens:
Get your daily dose of gardening inspiration and education by following Fresh Exchange in IG, Pinterest, FB & YouTube and podcasts. Follow us now and start growing!
Want to take your gardening skills to the next level? Join the Fresh Exchange community and gain access to our exclusive gardening courses that will teach you everything you need to know to create a thriving garden. Sign up today and start your journey toward creating the garden of your dreams!