Learn how to build a DIY Compost Bin with this easy tutorial that identifies the best way to create a compost bin out of scraps of wood from past projects. This simple and beautiful DIY Compost Bin will make a great addition to your garden this year.
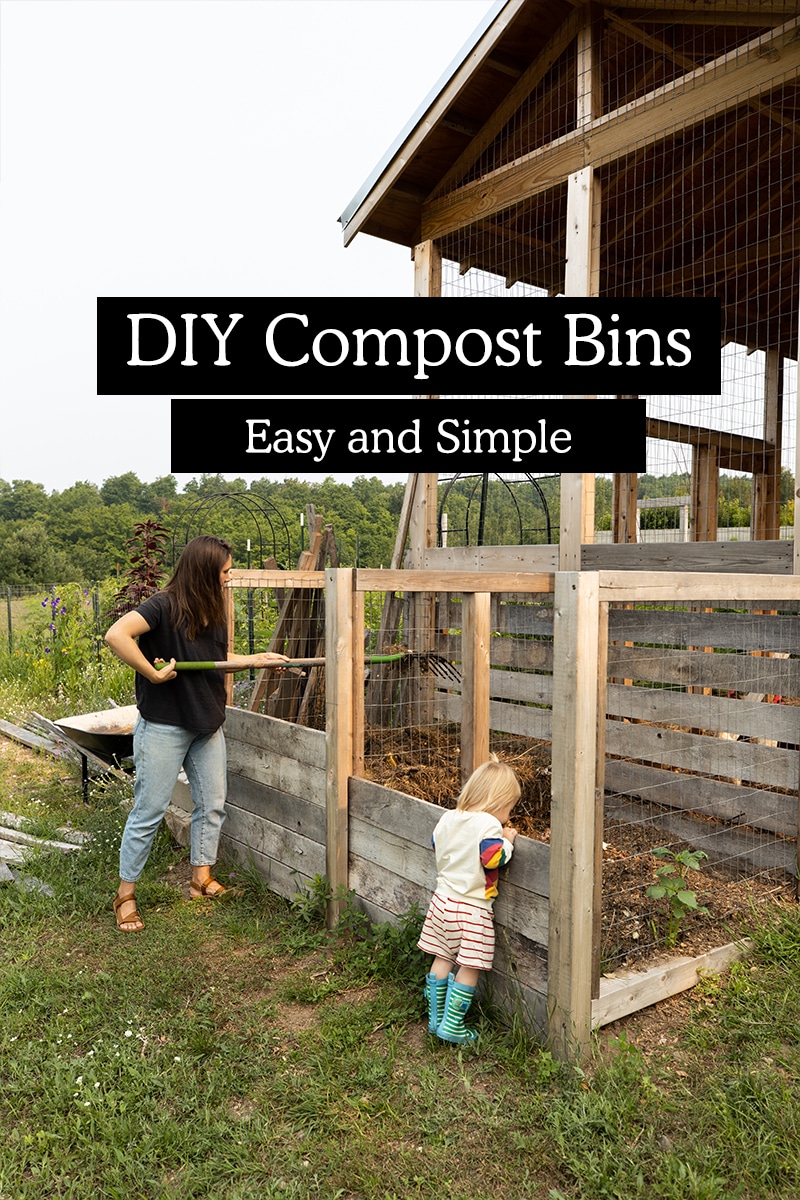
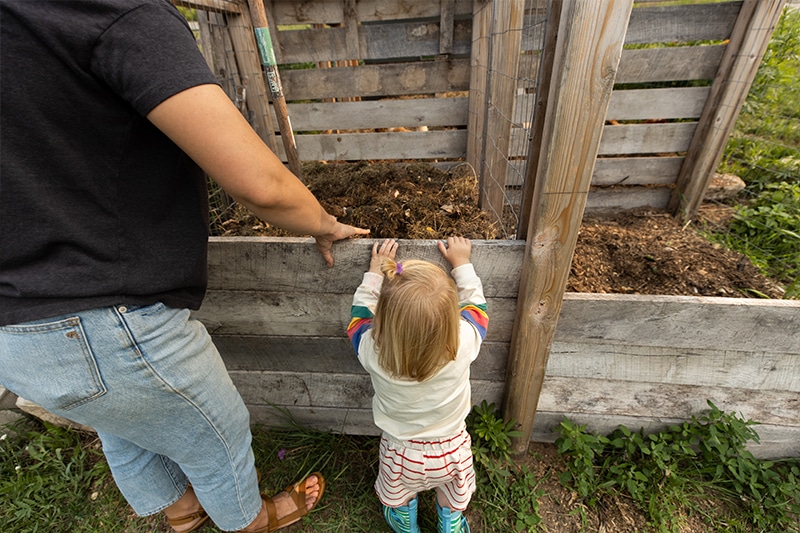
For many people with home gardens having a compost system isn’t just a great way to reduce waste but also to save money on the compost needed throughout the season. It is a great way to process yard waste and dry leaves along with kitchen scraps. We have tried many systems such as a compost tumbler when we were just starting composting, but this newer system combined with our chickens has been a wonderful way to create nutrient-rich compost in an easy, low cost, and beautiful way. Though it is homemade it feels really beautiful and modern. It doesn’t take a ton of effort and can be located near the garden or anywhere you want it to be.
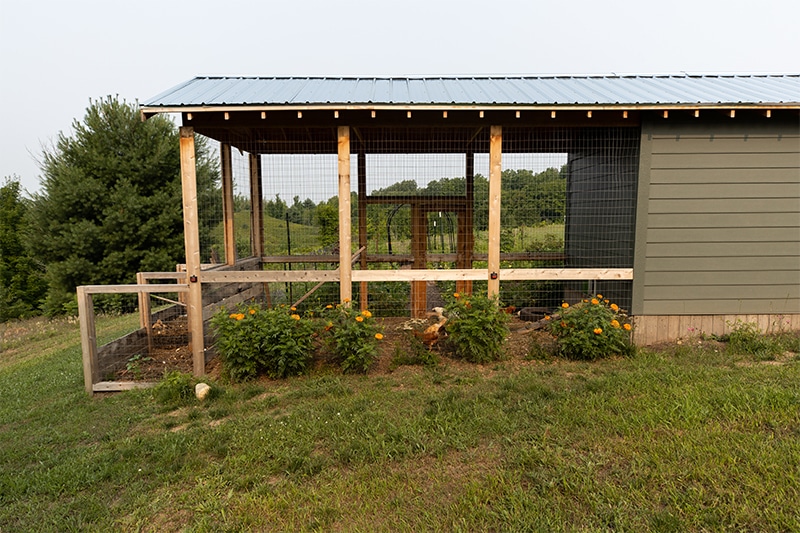
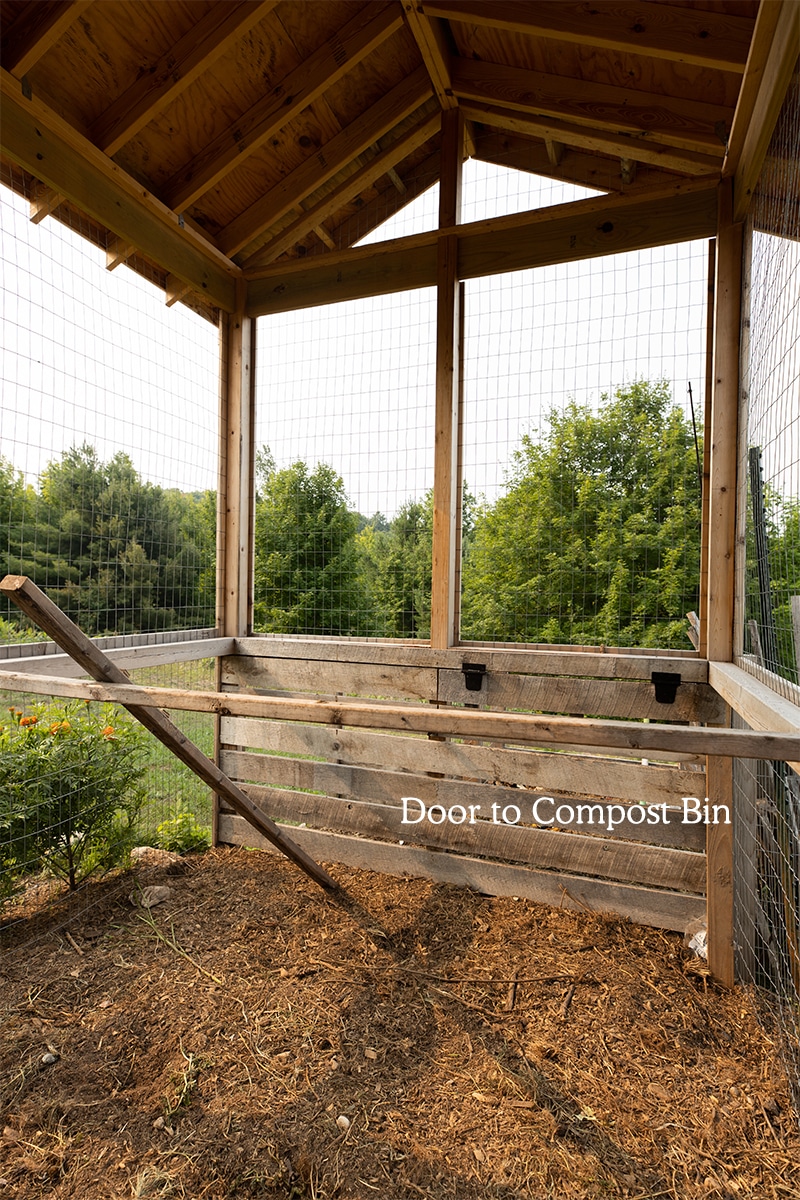
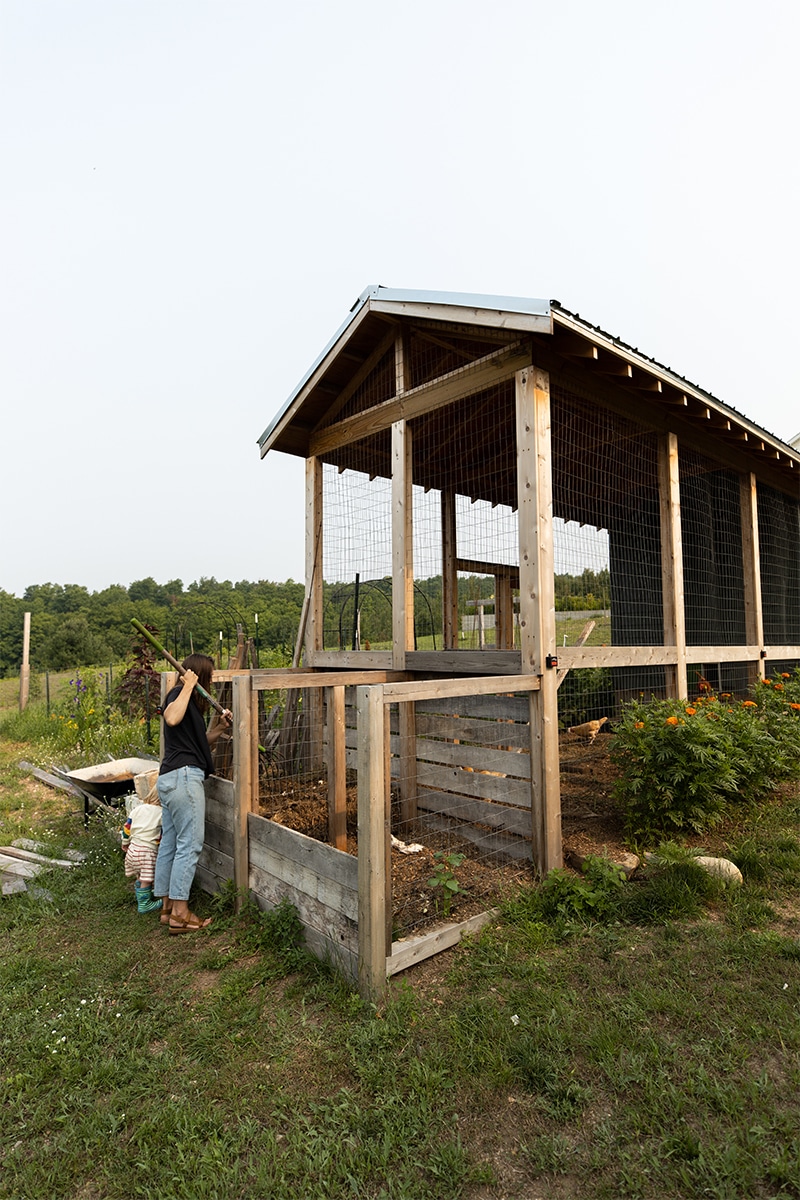
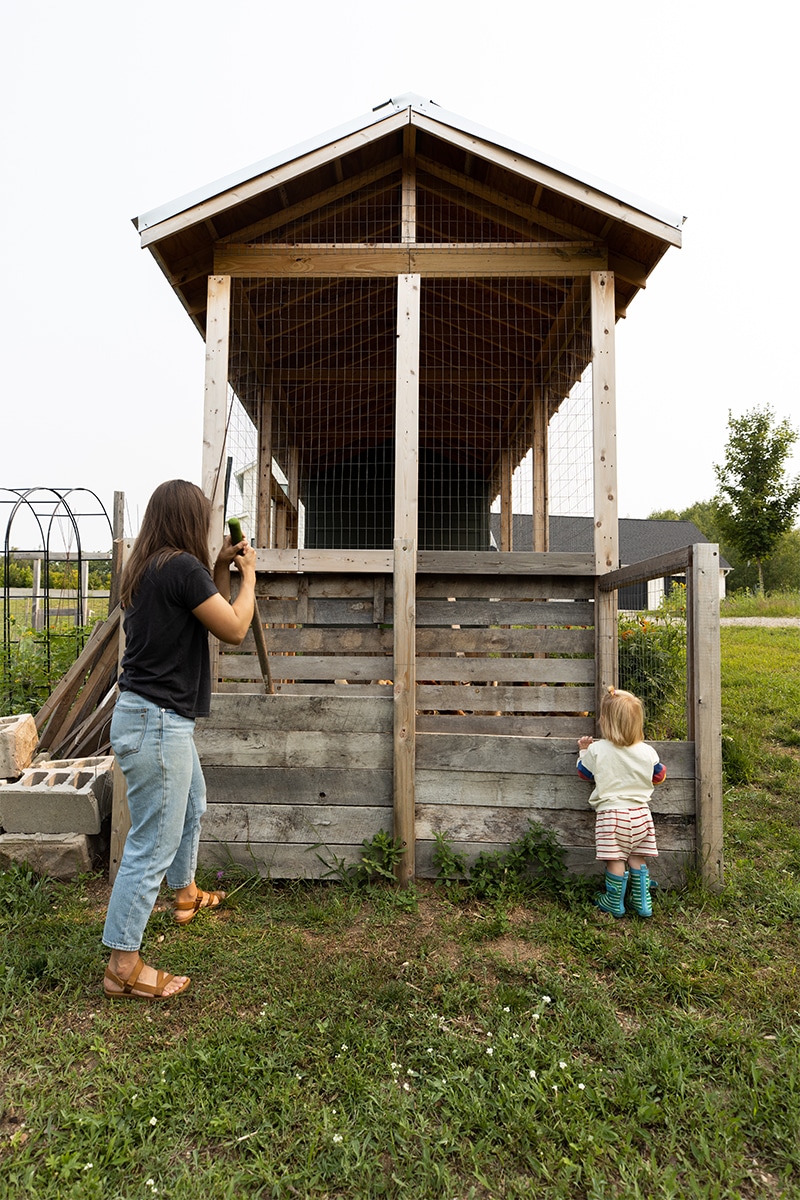
When we designed our compost bins we wanted them connected to our custom chicken coop (you can get the plans for our large DIY chicken coop!). Chicken poop is a wonderful heat source especially in cool climates for compost so we wanted to get all the benefits as possible. They also help us easily process the organic materials that are compostable.
That said, our compost bin is attached to the backside of the run for our chicken coop, but this can be built stand-alone with 6, 4″x4″ posts that are 6-8′ tall secured with cement. But you can use scraps to create these posts as well as the entire thing and in fact, that is what we did. With the leftovers from building our own DIY chicken coop, we had everything to build this DIY compost bin. If you have already used our DIY Garden Fence you could actually use one post to secure this as well.

Quick Tips for Successful Composting:
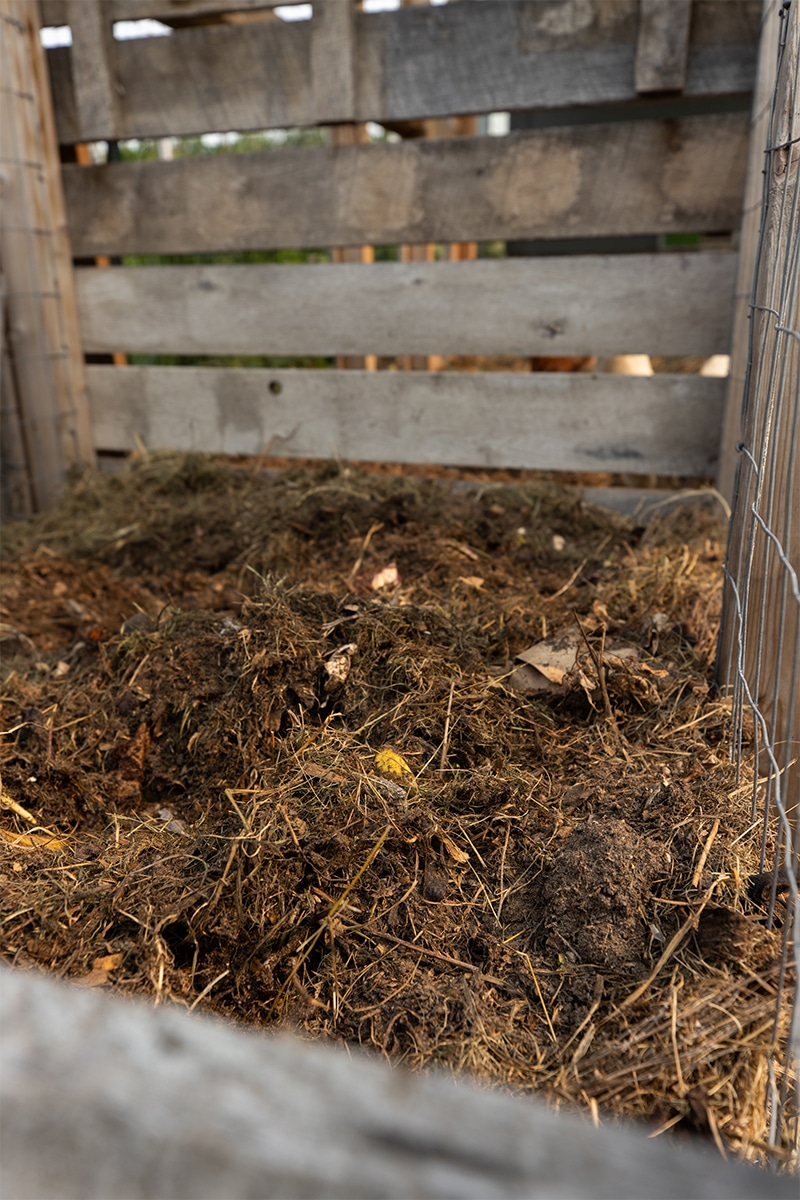
Creating successful compost may seem daunting but it is really quite simple to compost most all kitchen scraps, garden leftovers, and even some packaging you get in the mail. At a high level, all you need is a healthy balance of brown matter and green matter to start the composting process. In general, if your compost pile smells you need more brown matter involved. It is best to layer things evenly, but keeping track of the pile and turning it regularly encourages the pile to heat up and stay active. Below are a few things you can compost:
- Brown Matter Items: These items are things like cardboard, leaves from trees, shredded cotton materials, straw bales, shredded paper, wood chips, natural fibers of any kind, Wood ashes from fire pits, newspapers, and grass clippings. When beginning your pile having a good strong layer at the bottom of the bin or pile of Brown (carbon) matter will ensure a quicker processing time.
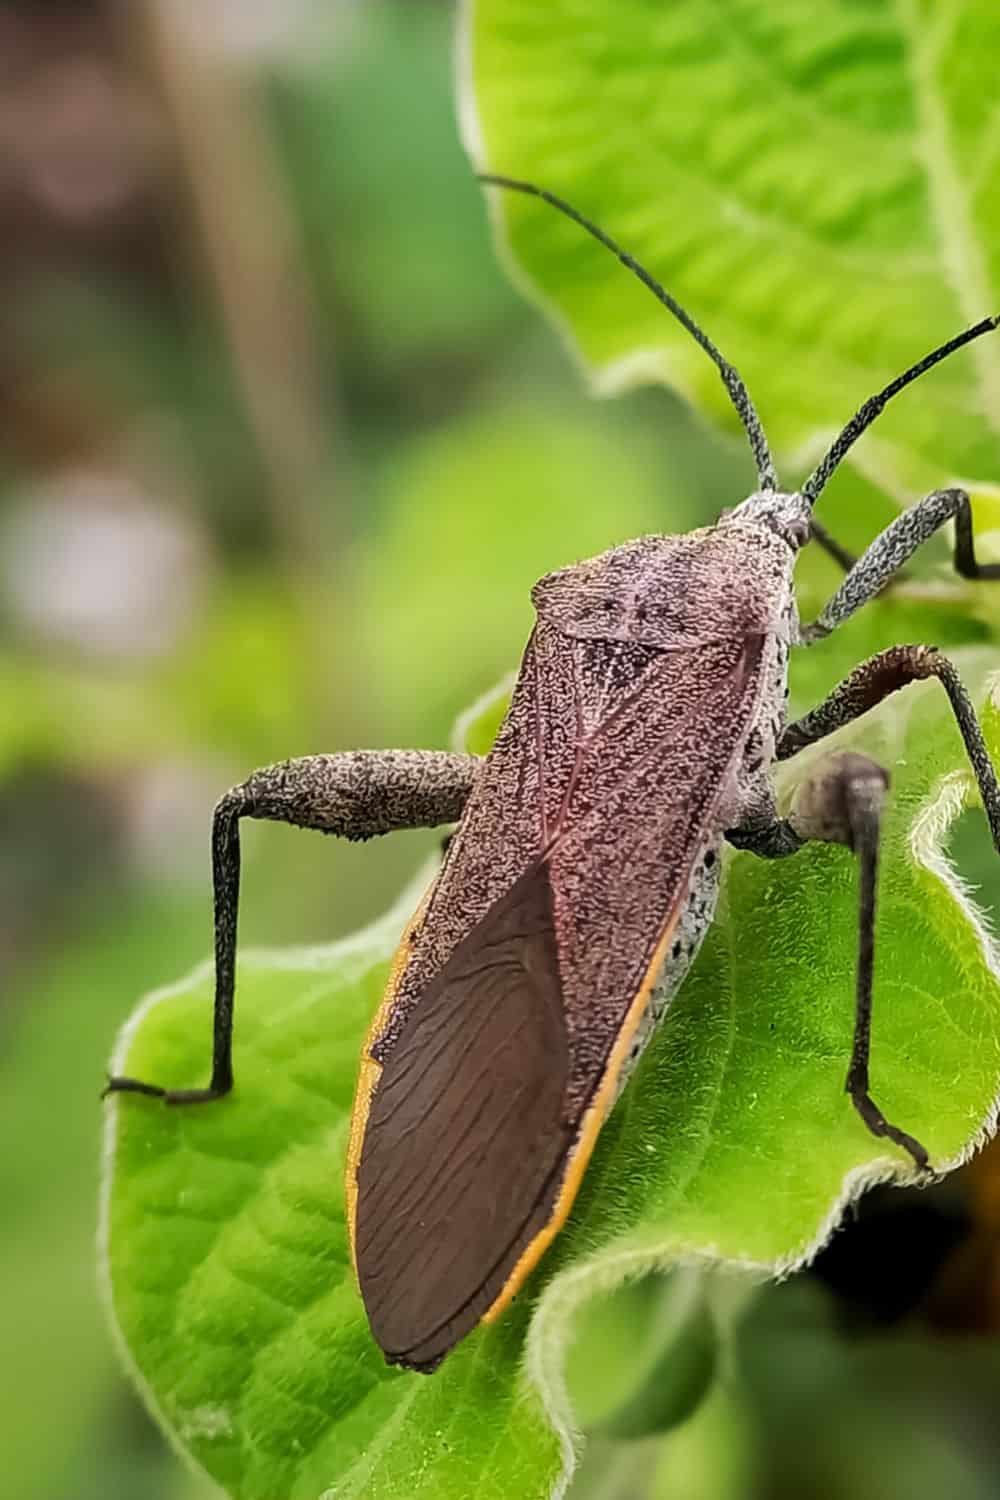
- Green Matter Items: All veggie scraps from the kitchen (some take longer to process than others like banana peels and avocado skins), coffee grounds, compostable tea bags, animal manure (chicken poop or other herbivore diet animals), old flowers, hair from animals or humans, crushed eggshells, and leftover things from the garden.
More or less you are looking to balance the Nitrogen and Carbon matter in your compost bin with a regular layering of materials and mixing the compost well. It is a giant ongoing science experiment but it comes together when you are paying attention and offering it proper turning, moisture, and heat. This can be hard thru very cold winter months which is where we apply a tarp with weights over the pile to compress and seal in the internal heat in the winter. We offer scraps in the winter to chickens and in the spring move the floor of the run into the compost bins. This raises the heat level in the spring when it is hard to do so. This pile then becomes our working pile for the summer and is spread in the fall.
There is a larger post that we will share our entire composting suggestions and tips next month.
The Best Materials for a DIY Compost Bin:
There are plenty of materials you can use for compost bins. Mainly you want to use a material that isn’t harmful or leaching anything into your compost bin. If you use wood, I would suggest untreated woods because they will leach chemicals into your compost, which you are then potentially contaminating your veggies if you do this. I would advise against using shipping pallets because it is hard to know where the wood has come from and how it has been treated. Here are some suggested materials you could use for the sides other than wood.
- Galvanized steel
- Cedar
- Plastic Fencing
- Aluminum fencing
- Metal Cattle paneling
- Large Trash Can or even a Plastic Tote
For this DIY we used leftover Cedar from building our DIY Garden Fence and DIY Chicken Coop.
How to Secure a Compost Bin:
Most people are concerned about animals and compost bins. This is a real concern. We have very few issues personally and though bears are around we have yet to have issues. So for now we haven’t gotten too into securing the compost. But you can do this using metal paneling and so on to secure the compost inside with a top lid. It is an easy addition to this design. You will want to add a lock as well on top as bears are very smart! Other critters I worry less about. We have mice and rabbits to access our compost regularly but if you keep the system turned and the layers even the scent should be very limited to attracting animals. You will also want to make sure you don’t add any meat or fish, which attract bears.
How many stalls do I need for a Compost Bin?
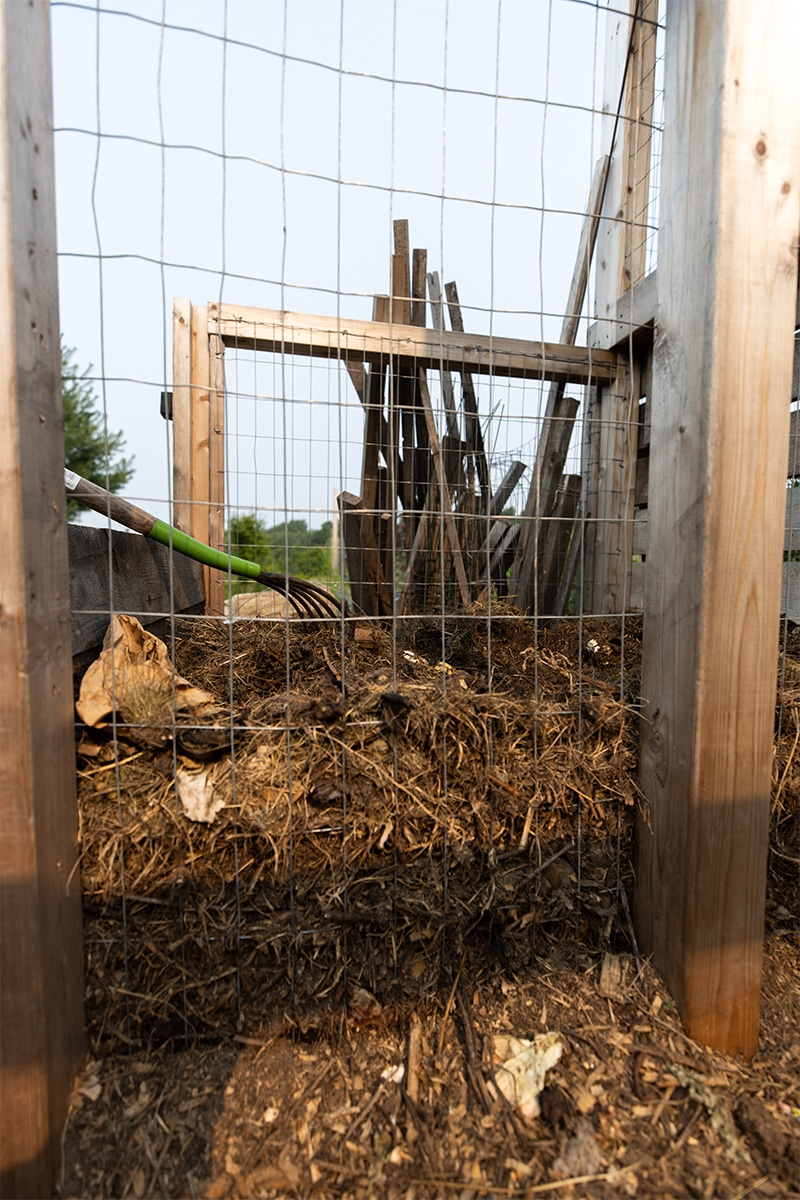
For a proper working compost system, you will need at least 2. You will see some people with 3, which is also great! But we have one in-process pile and one usable pile at all times. What this means is this:
- Stall 1: This is the one we are adding to all the time through that season. Usually, this is late spring when we start adding to it and continue to till fall. This one will then be the processing pile beginning in Fall. We will stop adding to it.
- Stall 2: We will be the one that processed all winter and we will be starting to drop everything in the garden in the spring or even waiting till the fall. We continue to turn it and move it, but nothing is added to it at all till it is emptied. Once emptied mostly we will add to this one all winter and spring again.
It all depends on what you are looking for and the amount of space you have available to you. The larger the space you have the more stalls you will need but for the average home gardener or even family, this is a very normal size composting system to have.
How to create a Simple DIY Compost Bin:
To create a simple compost bin you will need a few materials such as these items below:
Materials for a DIY Compost Bin:
- 6, 4″x4″ 6′ or 8′ Cedar Posts (Vertical Posts)
- 3-6, 4″x4″ 4′ Cedar Posts (Cross-beams)
- Cedar or Hard Wood Planks
- Hardware Cloth or Galvanized Fencing
- Nails
- Screws
- Drill
- Hammer
- Shovel
- Saw
Step 1: Find your Level
Almost every area will have some grade or slope, and with your posts dropping 2′ to 3′ into the ground you will want to make sure the tops of your 4″x4″ posts are level.
Step 2: Dig your post holes
As mentioned in Step 1, you want to make sure your posts are secure in the ground. A good rule is 1/3 of the post should be underground. For our 8′ 4″x4″ posts we dug 3′ holes and use a gravel base to give a good foundation to all 6 posts.
Step 3: Cut your front post notches
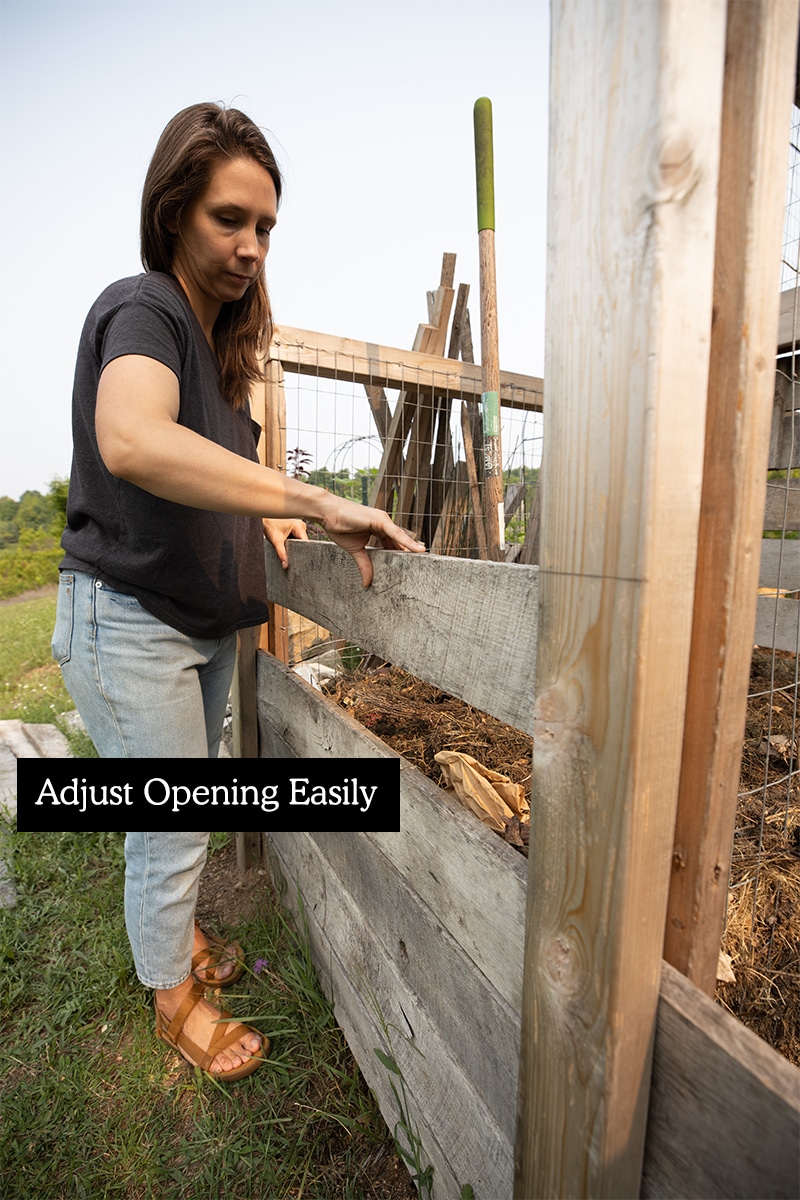
In order for the drop-in slats to fit, they need a groove track to slide into. This does not need to be an exact measurement as you can cut the slat boards to fit the space once the posts are set, but you must ensure that the slats have a space to fall.
Step 4: Add concrete footings
Once you have dug and set a level to your holes, place your first post in the ground and drop one mixed bag of quick-dry concrete. It is safe to assume, one bag is needed per post. Also, make sure you set a level against each post to ensure it is true before the quick-dry concrete sets. It can also be useful to use a guide board screwed into the top of the post to connect the posts while they set.
Step 5: Add the cross-posts
With the main post set, you will need to add the top and possibly bottom cross-posts to connect the front and back vertical posts. The bottom cross-posts are an option if you are in an area that isn’t on a steep incline.
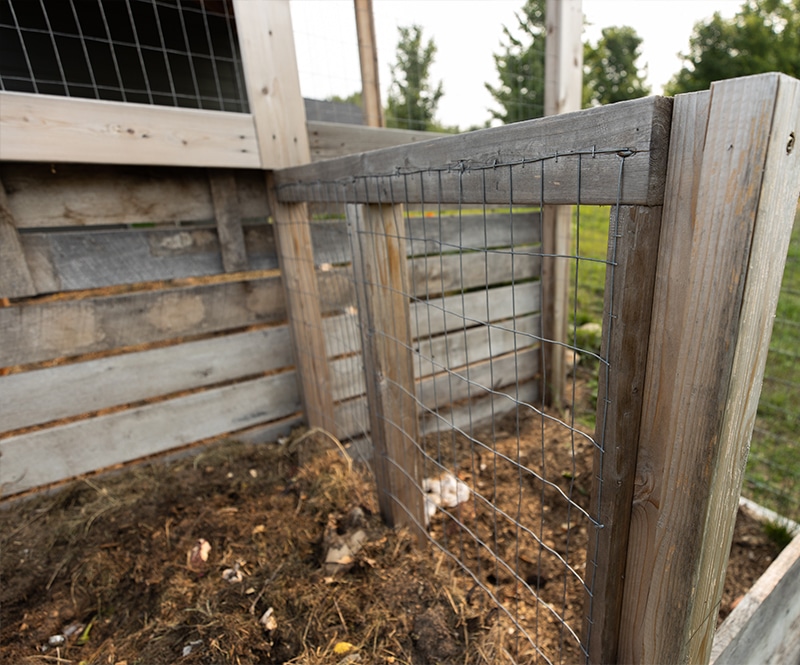
Step 6: Add the Wire
In order to keep all of your compost within the bin, you will need something to help contain the earthly gold. We used a 2″x4″ welded wire fence left over from the Chicken Coop enclosure, however, any non-compostable fencing should work.
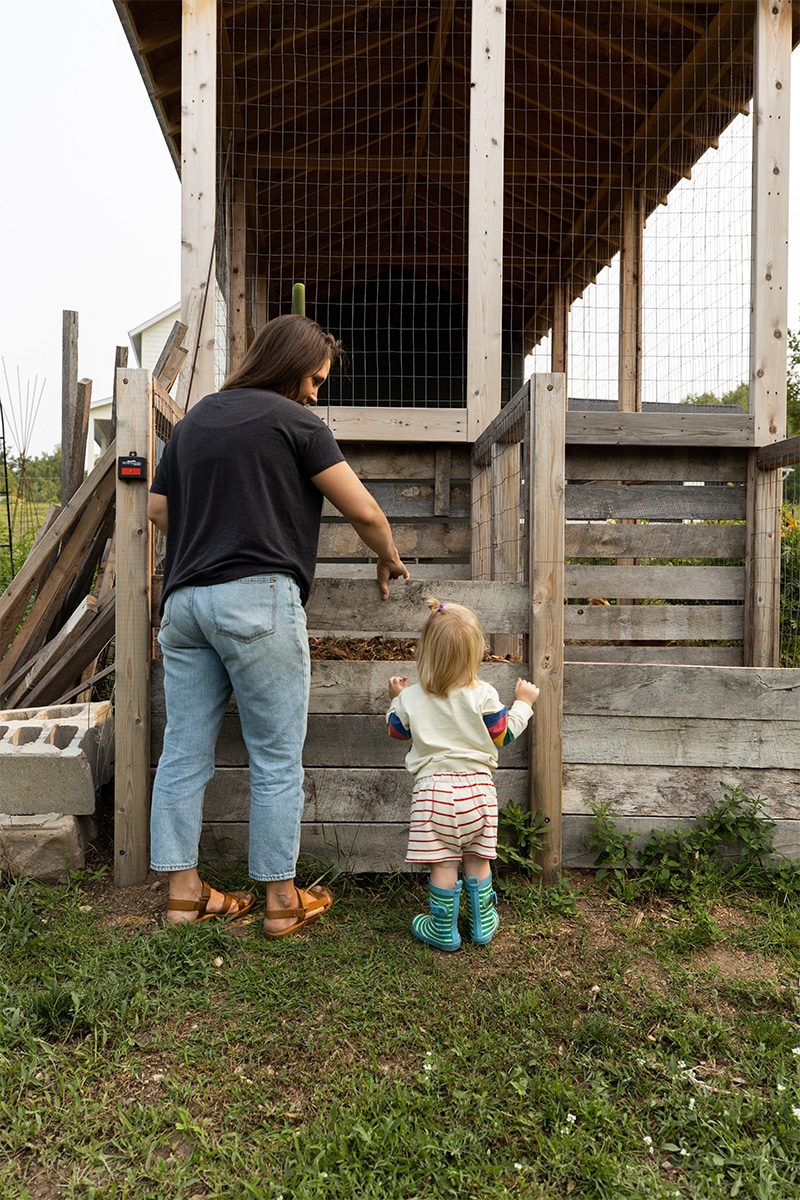
Step 7: Add the Slats
You will want to measure the openings to ensure a custom fit but the boards should have enough wiggle room to slide up and down without getting stuck in the movement.
Then you are ready to begin to create compost and eventually have a gorgeous finished compost pile in a few month’s time. Your garden will be thankful when you add it to create nice rich soil from all that composting materials you were able to process so well.
You can learn more about composting in the Composting Podcast episode where I show a bunch of wonderful info on how to get started yourself!
To get more info on composting and soil you can check out the following blog posts: