I have always been a gatherer. As a kid, my pockets were full of rocks from the beach or a collection of flowers from a walk through our garden or even a few frogs or turtles that were discovered near the pond at my grandparents home. I have always collected and chosen things. It is a natural instinct for me. Every season there are new things to be collected and winter is no different.
View this post on Instagram
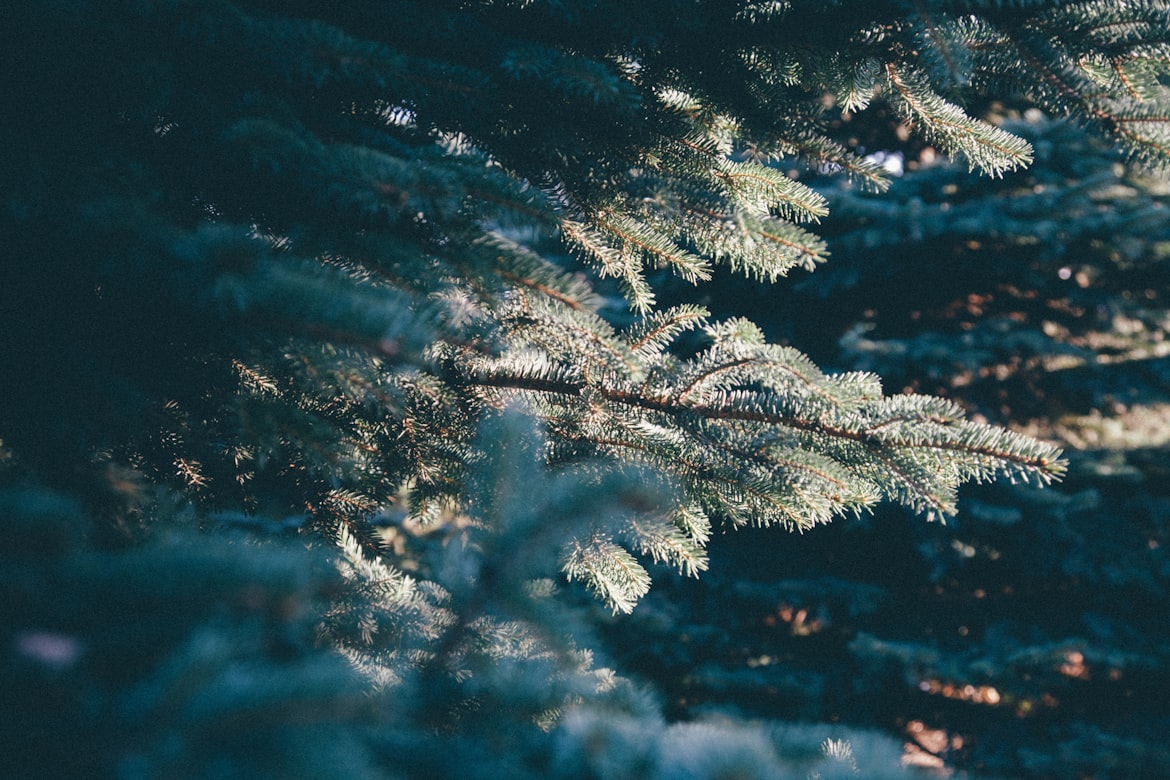
There is nothing I love more than the smell of fresh pine and cedar this time of year. In Michigan, the smells fill the woods you hike in even in the dead of winter and the evergreens that surround you are the smiling contrast to many gloomy days. They are the reminder that soon enough the snow will disappear and our world will be green again.
The textures and character of these plants are so beautiful and special. They also are by far my favorite type of foliage to work with. I told Mike as I made our garland you see here, that evergreens are the best because they hold their shape, they are low maintenance, but they hold so much personality.
After creating all of our garlands this year, I decided I needed to share with you just how I do it. If I could and had the time I would fill our whole home with garland. It is so fun and honestly has been such a wonderful creative outlet on snowy days.
I love the free form and wabi-sabi nature to creating our garlands. There are so many types if greens and more you can add in, but I wanted our’s to be the picture of what surrounds us. I wanted only to use what was out our front door and I would suggest for you to do the same.
The easiest thing we can do with our holiday decor is to use what already exists and in fact, it is also the cheapest. I spent a total of $4 on all this garland when in previous years I tried to do fancier things and spend more than I care to say and in all honesty, this is my favorite I have ever made.
Maybe it is because it feels like home because it celebrates what surrounds us or maybe it is because this year I learned how to get sap off of my hands. Either way this year I am sharing how you too can celebrate what surrounds your home just as easily as we have.

Where to Get Evergreens for Garlands
Check the Christmas Tree lots:

Most lots or farms where you would get your tree will have piles and piles of leftover greens that they trim from the tree base to prep the base for netting and loading on the cars. Most of the time they will give them away for free.
Because they are the low branches they aren’t always the top notch ones, but gather enough and pick through them well enough and you will be surprised how much you can get from about a dozen good branches. I made a good majority of our garland from the trimmings of our tree from the tree farm.
Trader Joe’s:

We do no have a Trader Joe’s anymore in Traverse City, but I waited for the day that they would get their greenery in at the one by our home in Raleigh. They have great prices on it, but since many times it isn’t a stiff bristle fir but usually a white pine, you will want a few strands to get the job done.
Go for a walk and watch the side of the road:
If you leave in a city that does have some great walking areas just outside of the city itself or even have a friend with some great property outside the city, go for a walk. Take a basket or bag along and gather up fallen branches or even nab some if policy allows or your friend allows. Foraging is 100% okay but do it respectfully.
What I use in this tutorial is below, but in all honesty you can use nearly any type of varietals. The key is to have at least one type of Fir. They have stiffer branches and their bristles are shorter. These will act as the structure for your garland. The rest of the types I use (also could use Eucalyptse or Rosemary or Thyme) are simply to add color and variety to the garland.

Christmas Garland DIY Project – Prep List
Duration: ½ day
Difficulty: Easy
Cost: Low
Materials Needed to make this Garland
So to get started you need to have:
Evergreens: At least 1-3 types of greenery. 1 being a stronger structural type green. This is the one you will use the most of. At the end of the article you’ll have resources on where to find evergreens.
22-gauge floral wire: For beginners, I recommend a thickness that is thick enough to work with but not so thin that it breaks easily. A green wire works well for blending in if you’re worried about your choices being obvious or noticeable and it doesn’t take up much space.
Heavy Duty Scissors that can cut wire (this is not the time for cute styling scissors)
3 Command Hooks (you can use nails as well but this is what we used)
Gloves and old clothes help to protect you from injury and allow you to move around freely
Olive Oil: This helps to remove the sap on your hands after you complete the garland. Just place some olive oil and soap on your hands and scrub under hot water to remove the sticky feeling.
Now let’s start having some fun!
How to Make a Garland Step-By-Step
1. Measure:

You will want to measure the area you are creating the garland for. I eye-balled mine because I like to embrace the imperfect, but if you are wanting to be a little more exact I highly suggest measuring the trim of the doorway and adding an extra 6-12 inches depending on the size of bow you want to your garland.
2. Organize your greens:

I always want to see all of what I have before I start. I think of garland making similar to painting. I love to know what I have to work with so I can make a plan. I want to know the character of the greens and the textures they have.
The thing I love about making anything with foraged greens is that you have to be okay with the imperfect and unfinished lines of it. I love to allow the greens do their thing and to kind of help them do it. I get really excited when I see some funk to a piece because I know it creates a fun challenge to incorporate it properly.
3. Choose your ends:

In my survey of greens, I look for the one with the proper character to end each side of the garland. For instance, this one I am showing above has the perfect drip to it that will close off the right hand side perfectly.
4. Lay and layer greens in a line to create the structure:

I always ALWAYS begin with the stronger of all the greens to make sure I create a structure that will hold up to being hung. I loved using the Fraser Fir for this, but honestly, any Fir will do the trick. I lay all of these pieces down in a line and look them over and move things around.
What I am looking for is to hide the ends and fill any weird gaps while also making sure there is a good balance of strong branches and greens mixed together. If you have a weird hole don’t worry too much just yet, this is will be taken care of, right now your focus is to create a strong structure.

5. Trim and Shape:

Taking this step is crucial. Each branch does not have to be kept full in tack. Many times, I break up whole branches to fit in the line. Typically, you can snap them with your fingers quite easily, but scissors may also suffice. This is where that sap starts gathering on your hands, if it hasn’t yet.


6. Wrap floral wire to hold together:

This is the most important piece of the garland creation. You will want to get your floral wire and I begin by wrapping a strong little knot over the first overlay of branches and then I just start wrapping it around.
I keep it tight but I keep the wrapping focused on going around the main branches of the garland and not over the whole thing. I let as much of it go wild as I can. You do not want to cut or end the wire until you reach the end. Keeping it as one long piece of wire will add to the structure you are creating.

7. Securely Knot Each End:

I make secure knots on each end like I mentioned above, but the end of extra important because it can come unraveled. So, make sure you have tightened and secured it properly.
8. Create Loops for Mounting:

If you want to make it a little easier to mount it, you can use the floral wire to make small loops to connect to the hooks or nails you have placed appropriately on your wall or trim. You can do this by simply making a loop and twisting the base till the loop begins fully and securely closed.


Now you should have that garland base all created! Now comes the extra fun stuff.
9. Mount the garland on hooks:

If you haven’t yet, set your hooks. I highly suggest two for single doorways and three for double and four for triple width doorways. Our doorway was perfect for three hooks to be mounted.
Once you have the hooks where you want them, attach the garland either by the loops you created if you chose to or if you are like me just by the wire you find haha. I like to not have too much planned and let things take shape naturally.


10. Fill in the Gaps:

This is the part I get so excited about and could spend HOURS doing haha. Now is the time for all the extra pieces you have gathered. Now you can use the structure of the garland to place various greens into the garland. I love spreading out the different types and letting them add depth to the garland.
It is so fun to kind of just let the garland take a shape as you place more and more greens into it. You can decide when it is finished for you. I typically work on mine throughout the week as I forage new things they will be added to over the course of a few weeks and it makes for a fun ongoing project in our home.


Things to add to your Christmas Garland
Lights – Add lights to your garland. String them on thick so the wires can be tucked in as much as possible and try mixing two types of light (like standard lit strings with larger bulb-shaped or star-shaped). Click here to see the different types of LED light bulbs. One other thing that might come into consideration is whether you’ll have access to a plug around where it will go, because there are battery operated string lights too.
Ribbons – Add ribbon to your garland for the perfect festive touch. Make sure you buy wired, rather than fabric or paper ribbons – florist wire is best as it holds its shape better and doesn’t dry out over time like some other types of ribbon can do. Loop an 8 inch piece of wire around a 12-inch length every dozen inches along the entire length (twisting in opposite directions so that they don’t tangle), then add flowers!
Conclusion
That is all it takes to make your own garland for your home this holiday season. if you have any questions or any other tips feel free to leave them below! I would love to hear and to answer.
Have you guys started decorating? What is your favorite thing to do each season for your decor? Oh and this week I am also sharing how to make that wreath back there too. A super easy DIY as well!